Making Positives for Photo Screenprinting and Photo Etching in Adobe Photoshop
- Open your digitized source images in Photoshop.
- File>Open or Command-O
- Navigate to desired files, select and click Open
- Create a new document.
- File>New or Command-N
- Name your document: Surname_ScreenPositive or Surname_EtchPositive
- In the Preset dropdown menu, choose Custom
- In the Size dropdown menu, choose
- For Screenprint: Set Width and Height dropdowns to 20×28 cm
- For Etching: Set Width and Height dropdowns to 4×6 inches
- In the Color Mode dropdown menu, choose Grayscale.
- Rotate Image if appropriate.
- Image>Image Rotation>90o CW
- Check Image Size of your source image. (These steps must be done in order).
- Click on one of your source image tabs
- Image>Image Size
- Choose Centimeters in the dropdown menus for Width and Height
- Un-tick the Resample box
- Input 300 pixels per inch in the Resolution field
- Move your source image onto your positive.
- Select>All or Command-A
- Edit>Copy or Command-C
- Click the tab for your positive
- Edit>Paste or Command-V
- Repeat stages 3 to 5 with another source image in order to create a layered image
- Edit your image as desired. (See image-editing handout).
- Flatten your image.
- Layer>Flatten Image
- For photo-etching: Switch to Black and White.
- Image>Mode>Grayscale
- Discard color information? >Discard
For Screenprint: Turn the image into CMYK mode and do a 4 colour separation
- Image>Mode>CMYK
- Choose Channels in the Windows dropdown menu. On the right hand top corner you will find a small menu icon, click on it and choose Split. Photoshop will generate 4 different versions of your image each containing information, 1 for each of the 4 colour Cyan, Magenta, Yellow, Black. Apply a halftone to each individually as per point 9 and save them. Remember to make a note of which colour they correspond to.
- Apply a halftone.
- Image>Mode>Bitmap
- Output: 300, Use: Halftone, Click OK
- For Screenprint: Frequency: 45 or 55, Angle: Cyan 15, Magenta 75, Yellow 0; Black 45. Shape: Round, Click OK
- For Etching: Frequency: 65, Angle: 82.5, Shape: Round, Click OK
- Save the halftone image.
- Image>Mode>Grayscale, click OK
- File>Save As
- Select JPEG/Tiff from the Format dropdown and click Save.
- Save at High Quality (at least), and click OK.
- Print your positives to size on 80-90g paper in black and white. Make sure you use a laser photocopier rather than a digital printer as it is important that the positives are printed with black ink for good results.
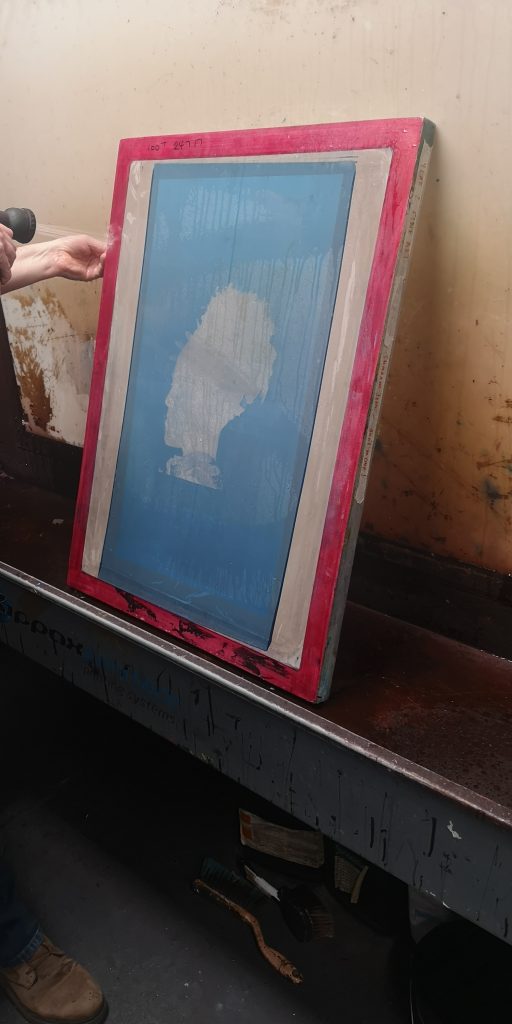
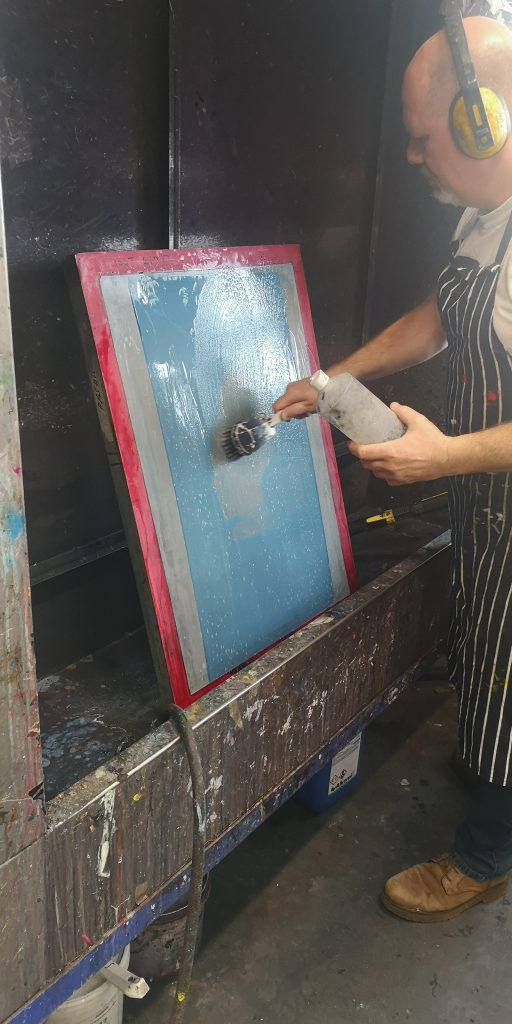
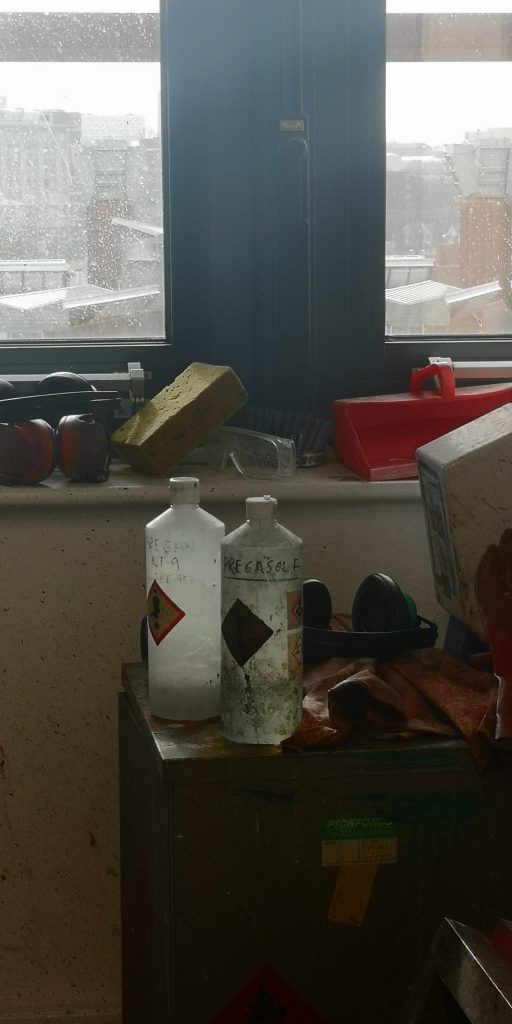
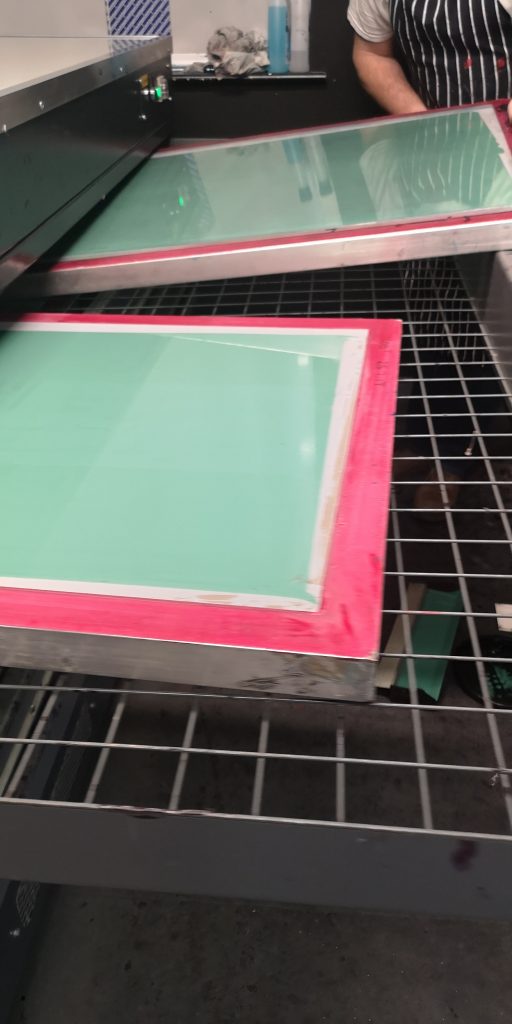
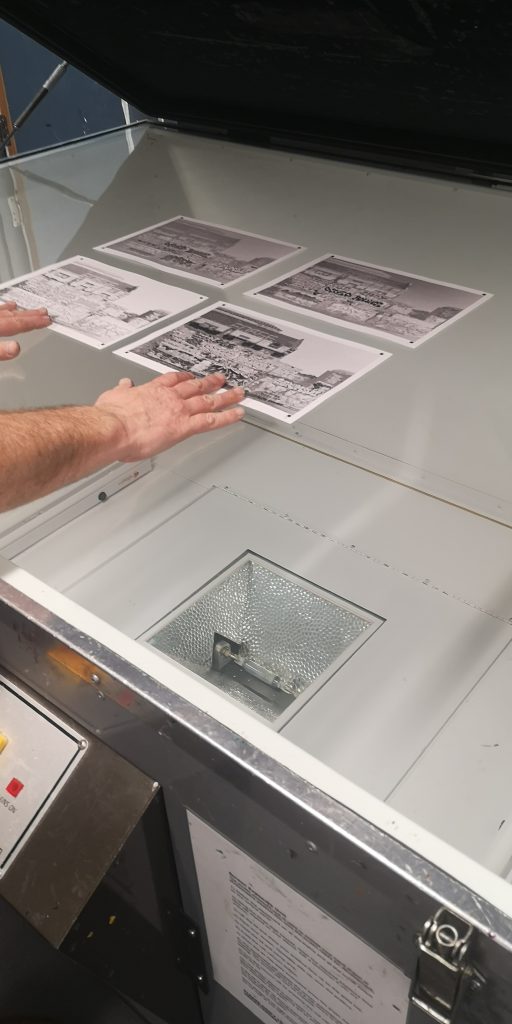
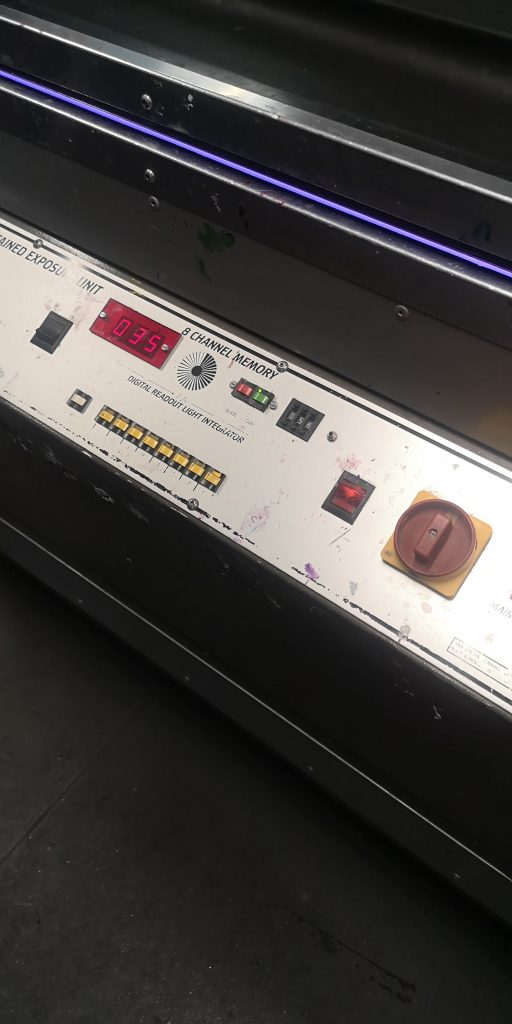
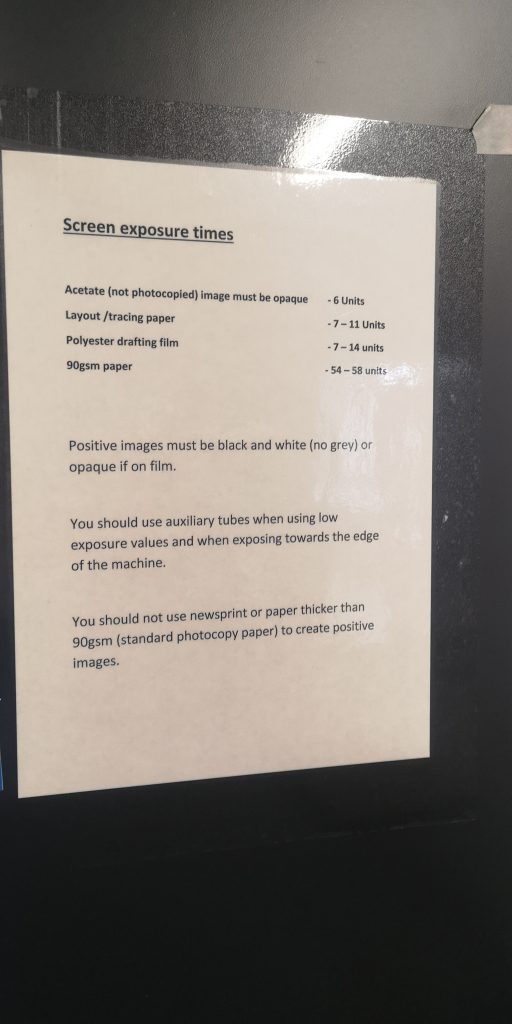
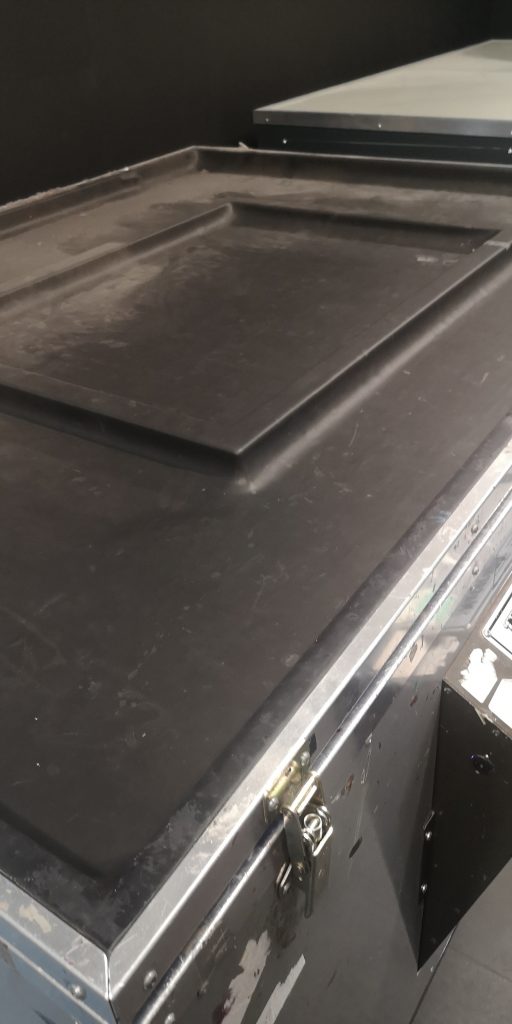
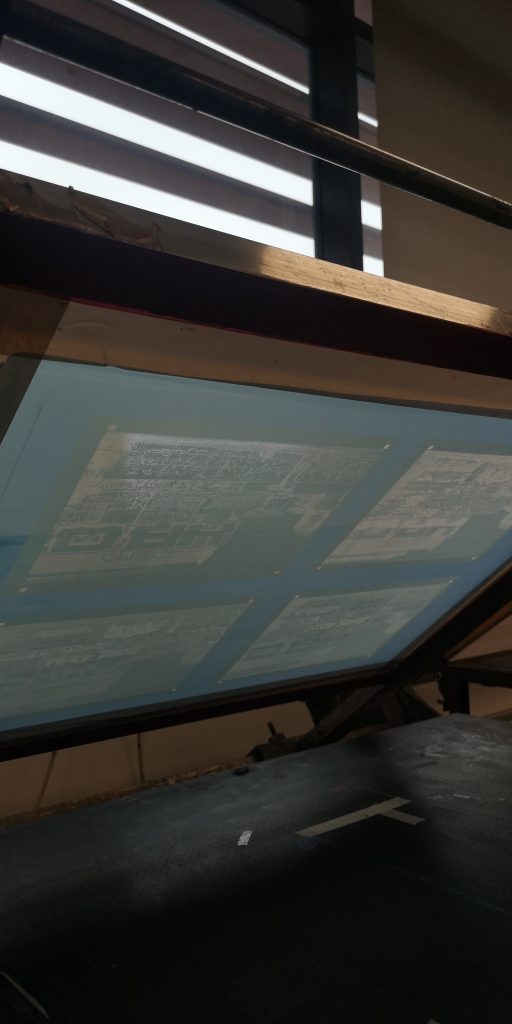
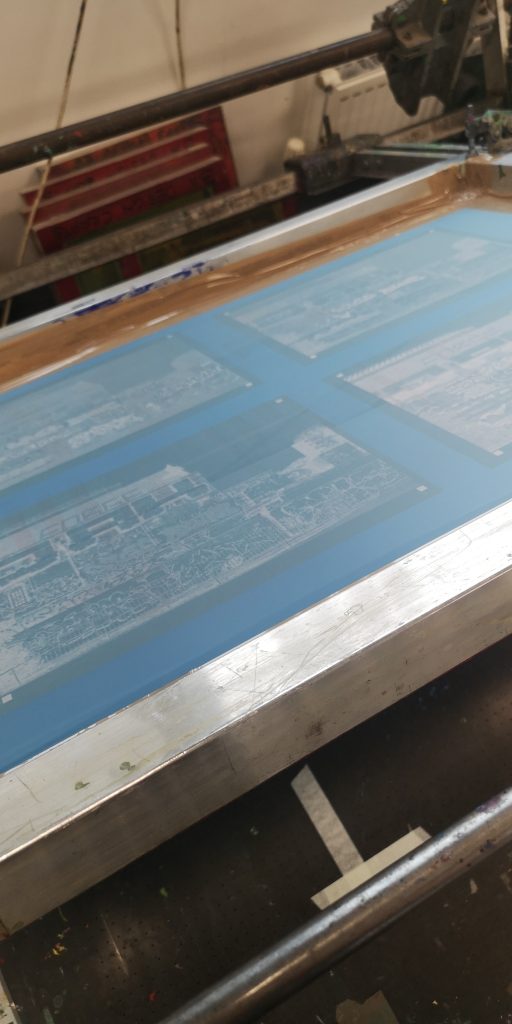
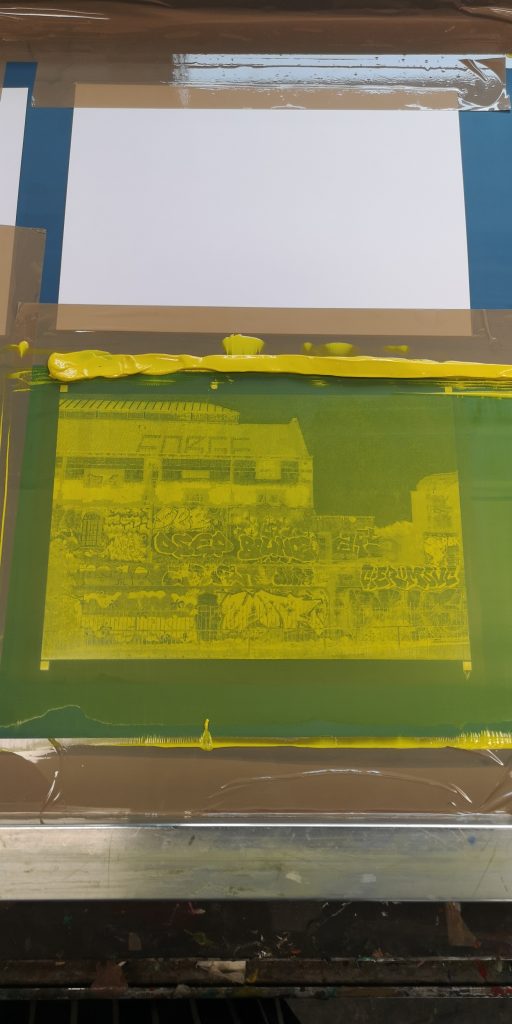
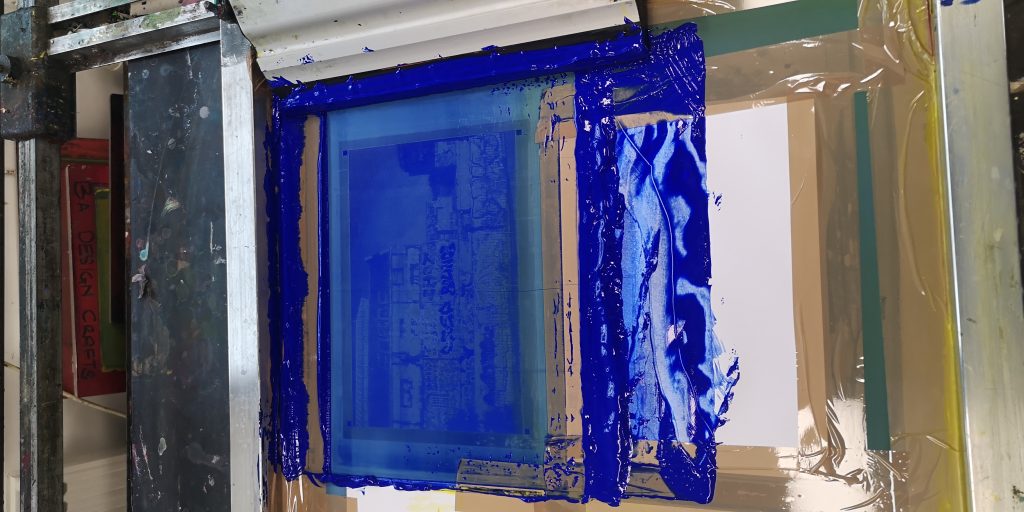
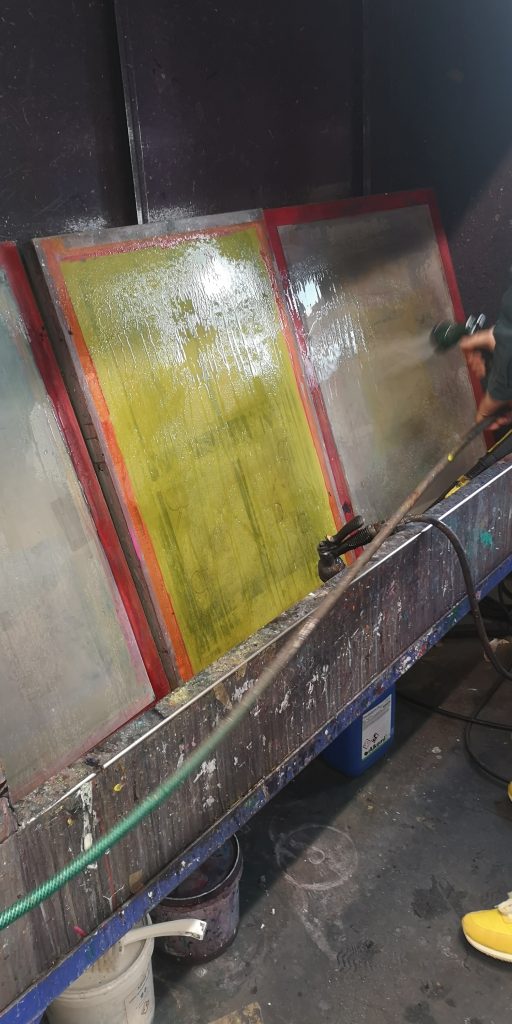
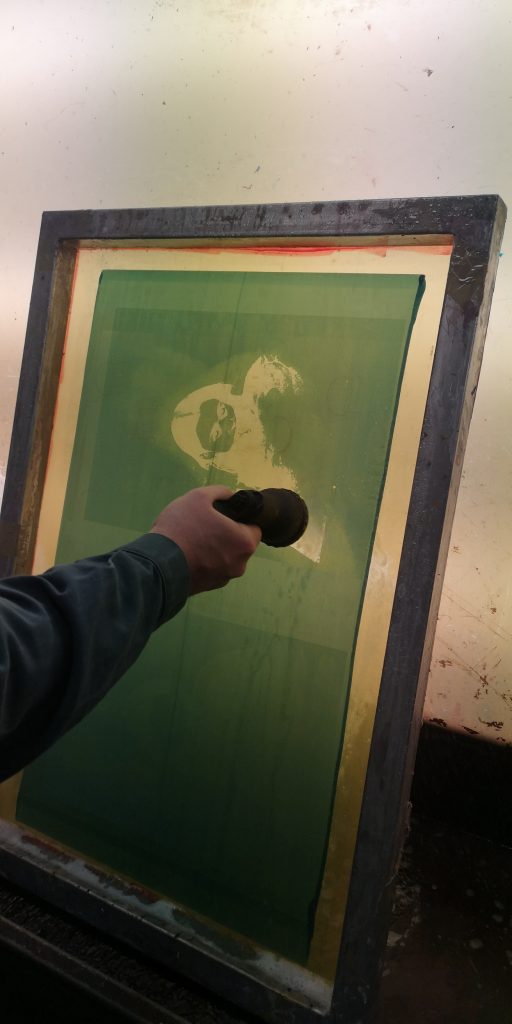
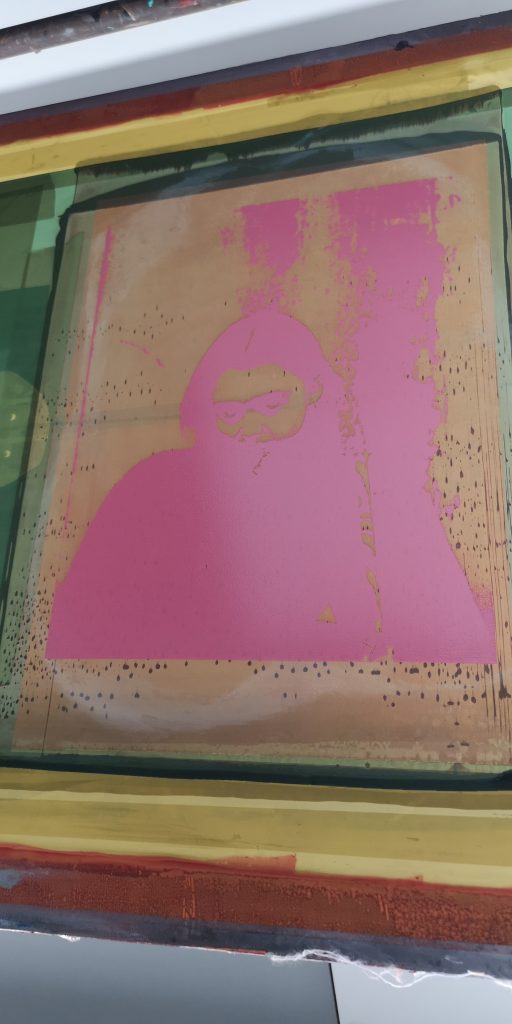
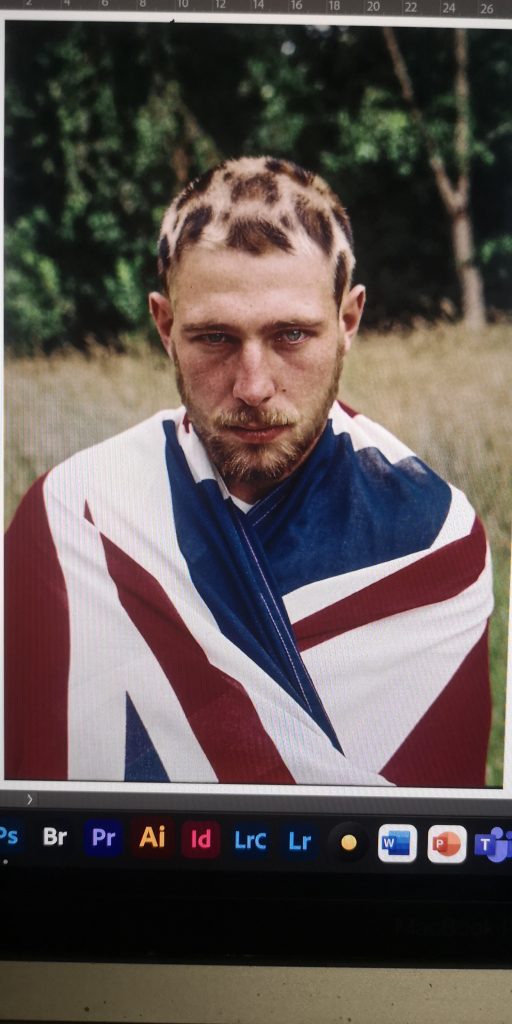
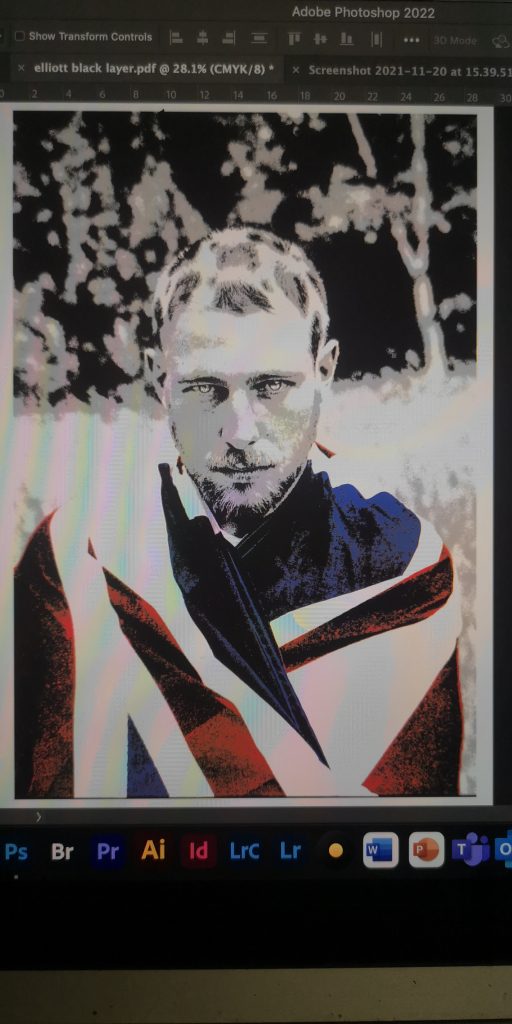
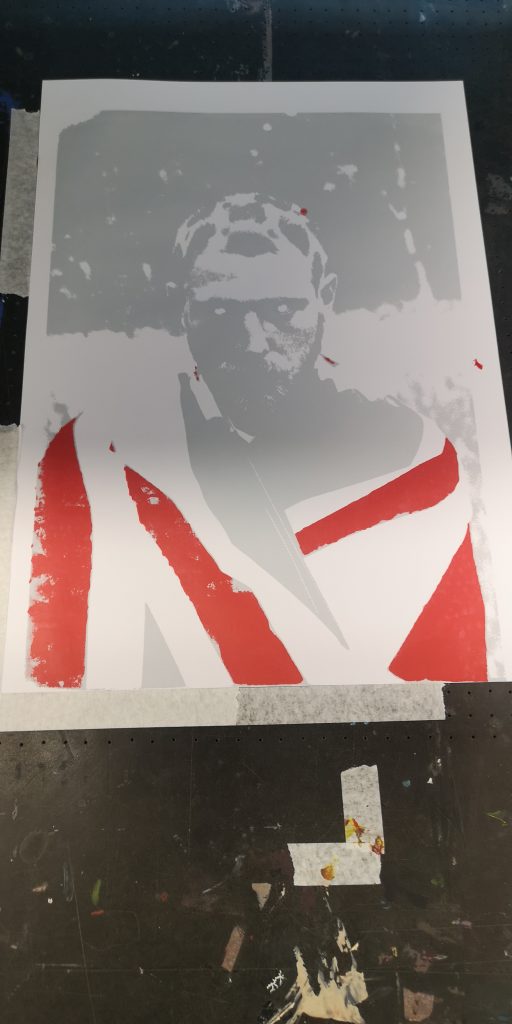
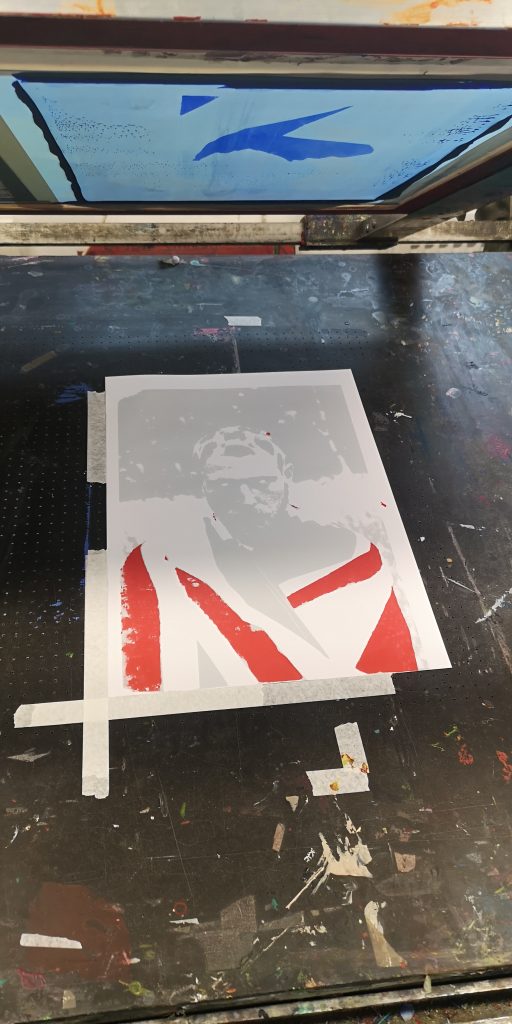
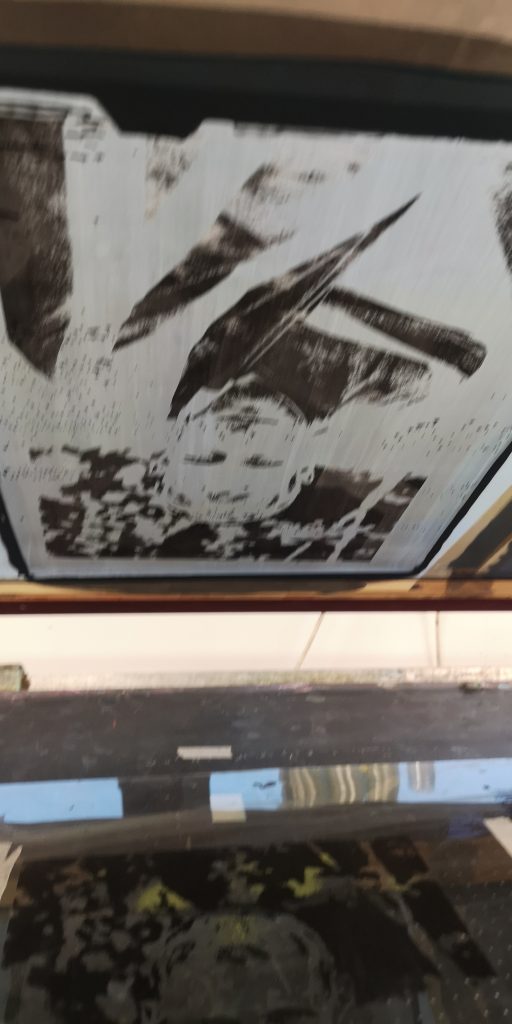
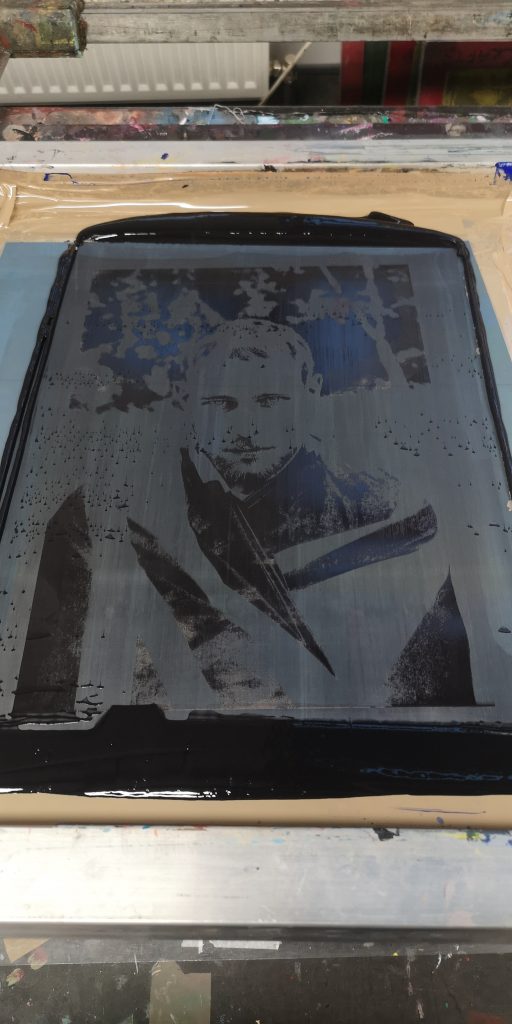
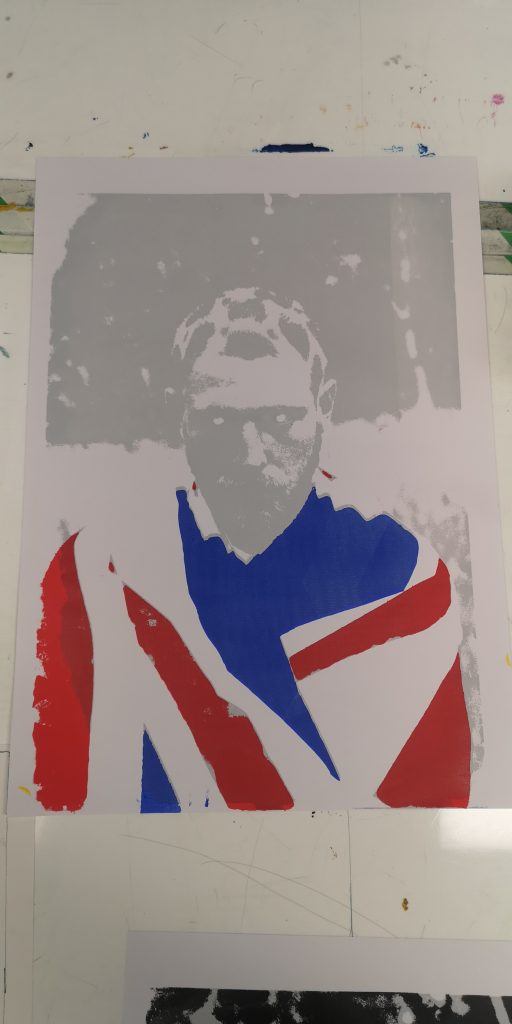
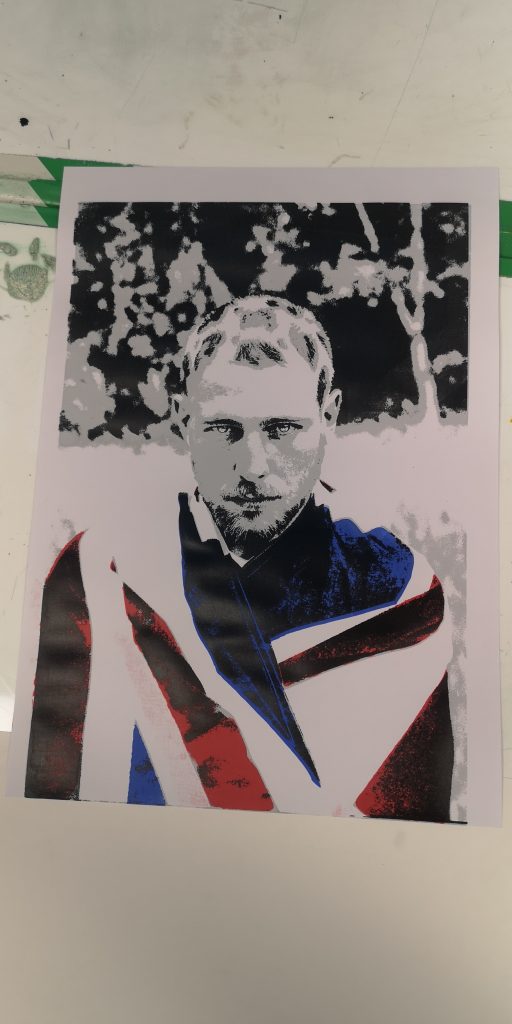
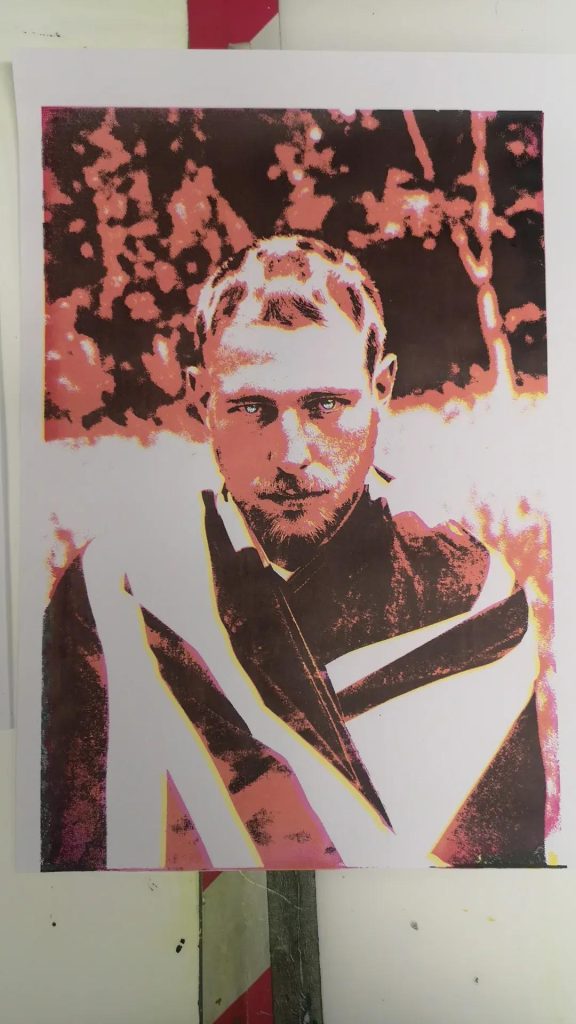
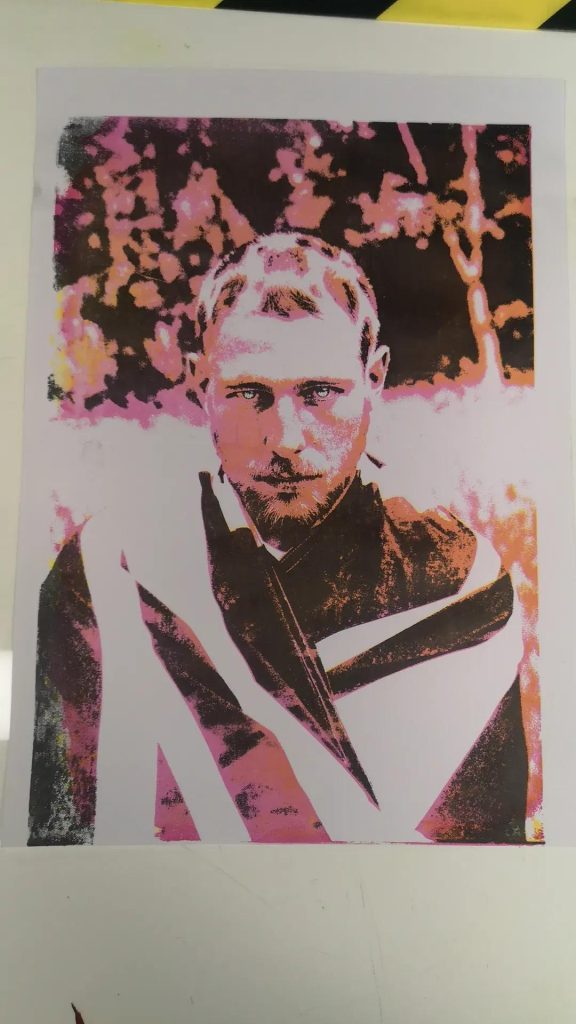
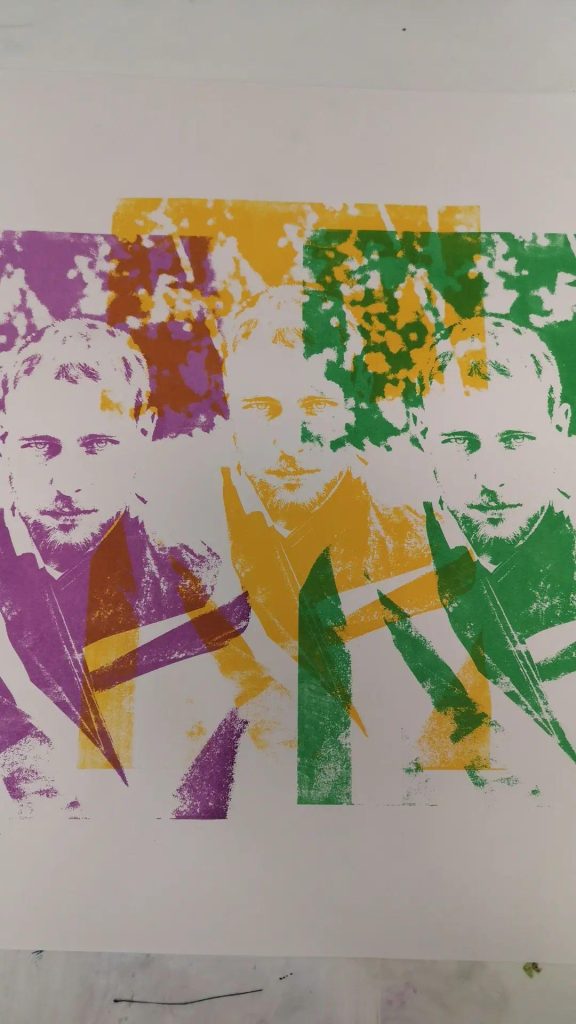
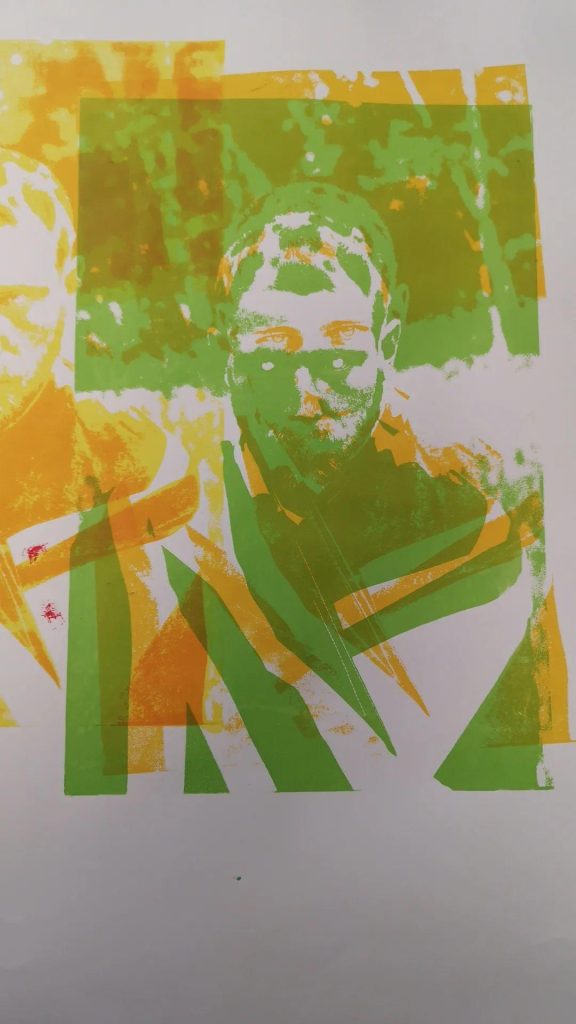
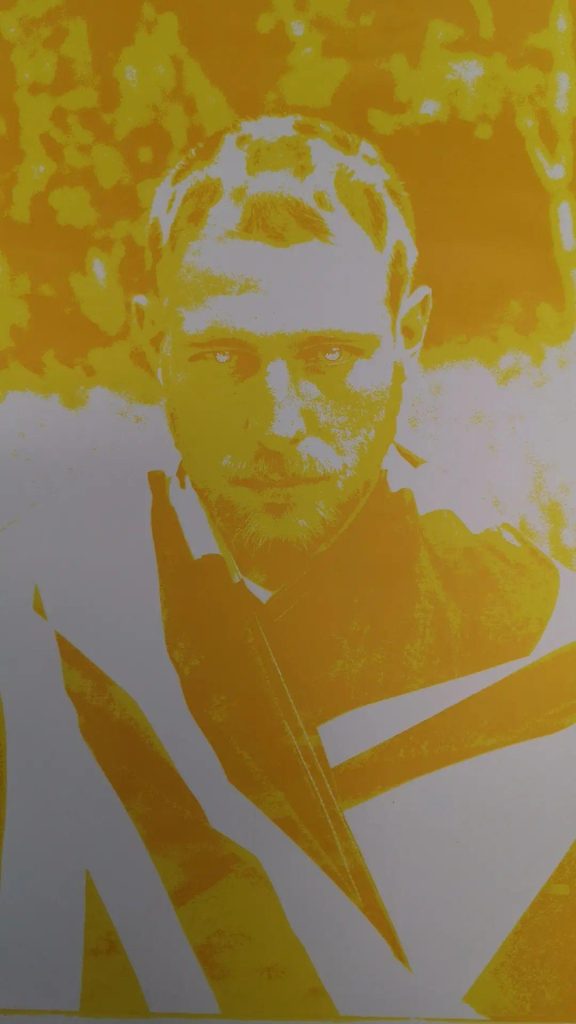
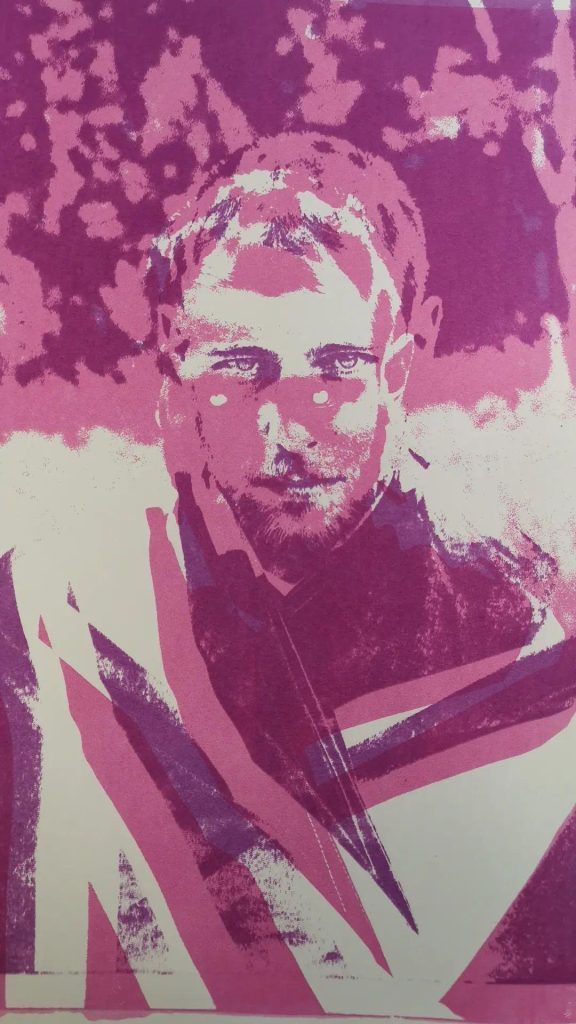
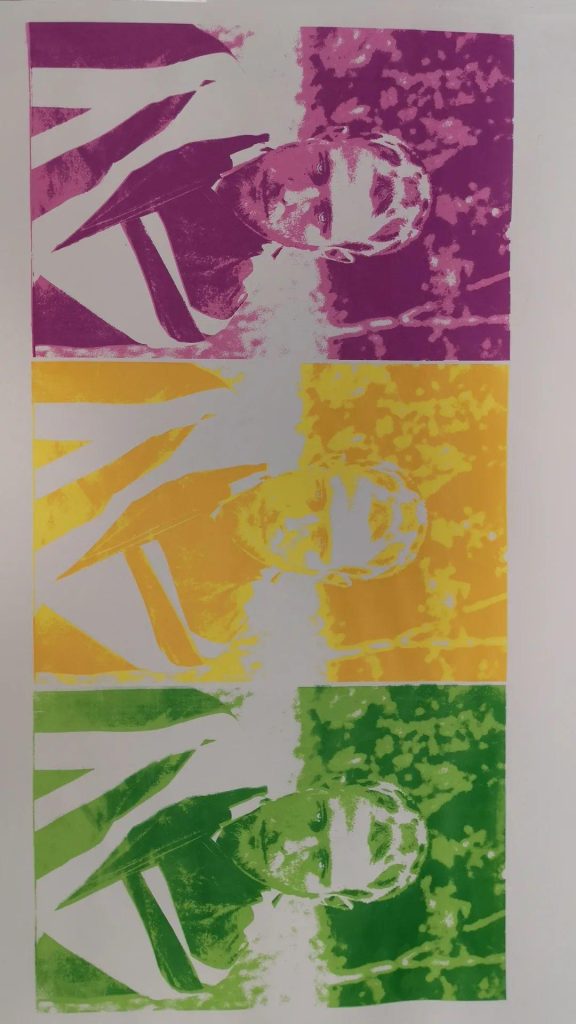
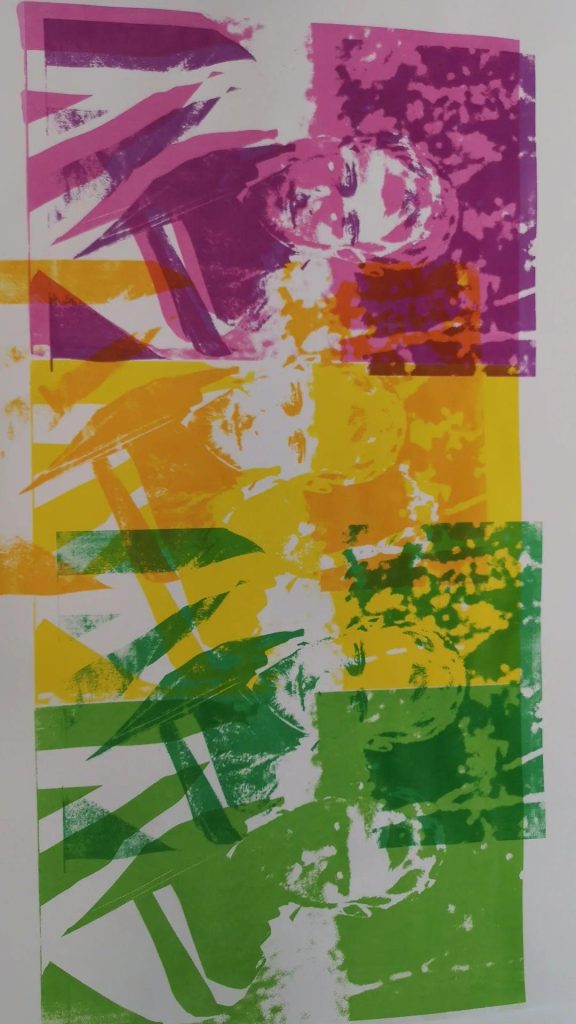
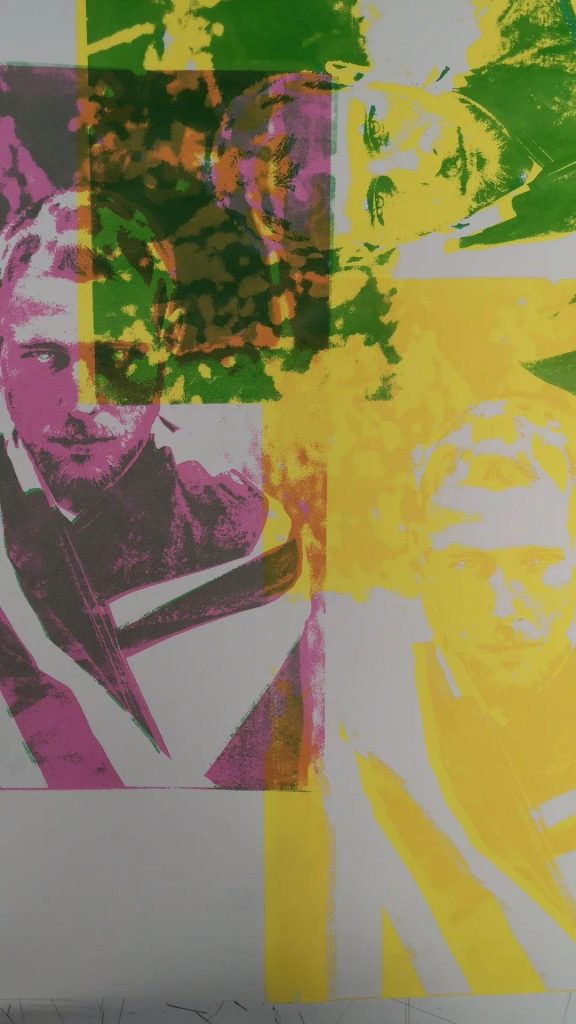
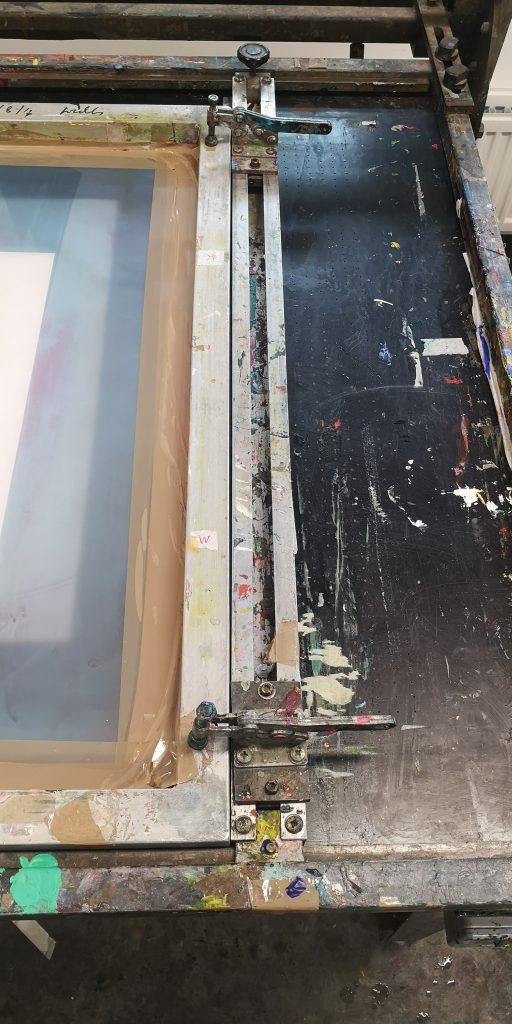
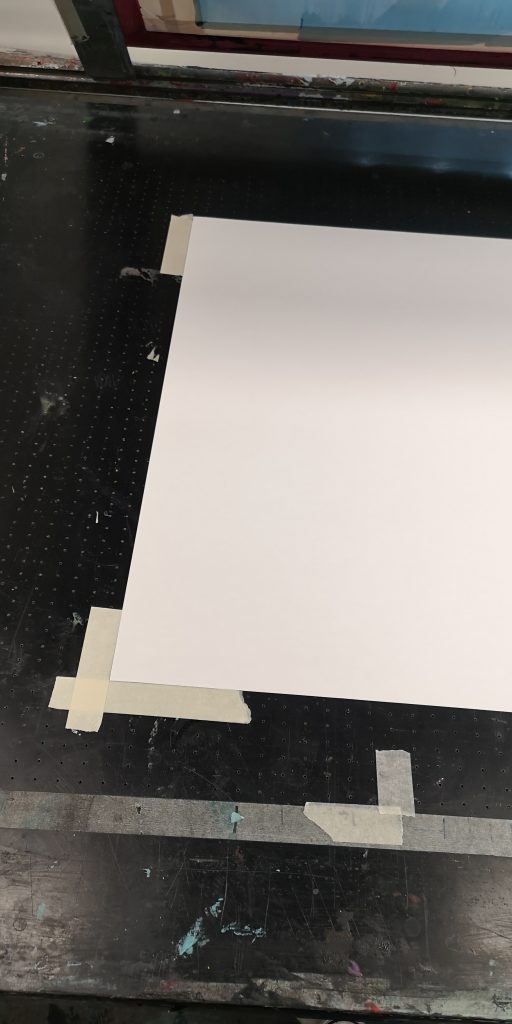
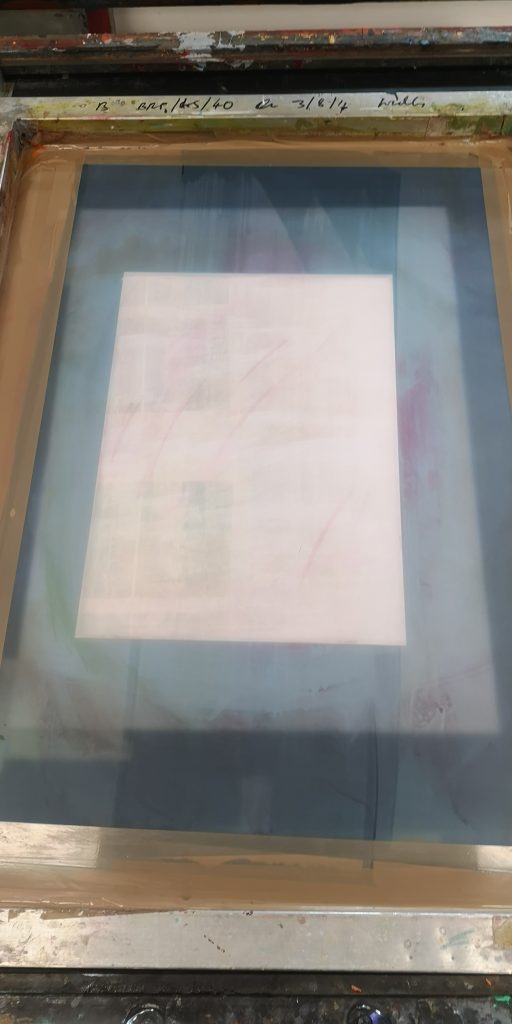
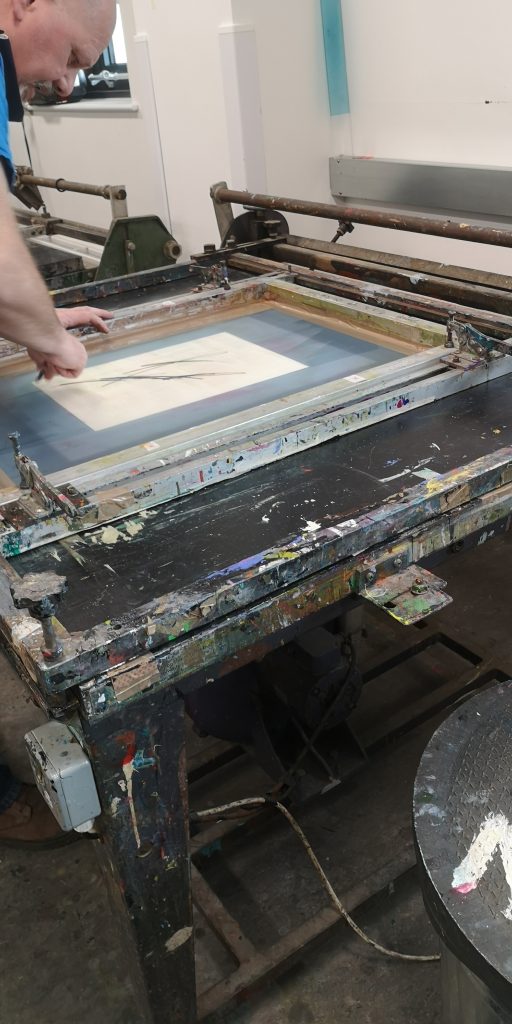
I went through the process of learning how to screenprint first by putting the emulsion onto the screen and letting it dry after exposing the screen to my images using UV light this then created the exposure onto the emulsion from that I washed the screen off I was able to attach it into the screen and screenprint from that.
I first experimented with a half-tone pattern using CMYK to create an image I had photographed for my publication ‘writings on the walls’ this process taught me the fundamentals of screen printing how to set up my screen correctly, use a squeegee and develop the image with the four different layers of acrylic paint mixed with medium. I really enjoyed this process and found the images that I created successfully, and I was also able to do a lot of experimentation by applying the layers differently whether that be with colour or composition.
After developing the fundamentals of screen printing and understanding where I could take the technique. I started using my own portraiture to develop my style with Photoshop to screen print. At first, I used the process of layering up the image to be as accurate as the original image created in Photoshop. but as the process went on, I found it a lot more free to experiment with the composition of the image how I was using the layers to overlap each other or to create contrast within two different colours already on the paper. I found it interesting to see the different colours interact with each other on the page creating different shades of colour I found this an interesting part of the work that was developing. I then went on to develop this work on a larger scale at A1. I felt the mix of all six colours works well at this scale as each portrait could be looked at as individual or as a collective. I was drawing from Andy Warhol’s Mona Lisa when producing these prints as I find the composition within those artworks interesting. I found the more runs of prints that I developed and worked on my technique for screen printing got a lot better and it started to feel a lot more natural to me when working with the screen. This helps me develop my creative practice a lot further as it goes hand in hand with the photographic work I was already producing enabling me to create a whole new body of work and push my imagery further than I have been able to before.